
Basic instructions for using Khang Scraper (4)
In this section, we will get familiar with loading templates to instruct Khang Scraper to collect product page data.

Basic instructions for using Khang Scraper (4)
Introduction to Templates
In this part, we will get acquainted with loading a template to instruct Khang Scraper to collect product page data.
Almost all e-commerce platforms have interfaces that change according to the industry, display language, etc., so each template is only suitable for a different interface.
If you do not have knowledge of DOM , exploiting this tool is relatively difficult. However, you can do this through:
- Support from KhangWeb: they will create a template for you - just provide the product link.
- Support from a knowledgeable community: provide the product link, and ask them to help you find the selectors to get the necessary information.
- Support via AI: fast and professional, but you need to write the correct prompt.
Step 1: Basic understanding of the product page interface
In this step, I will take a women's fashion product on Amazon as an example.
Product link: amazon.com/dp/B0CRDQS1ZC
General remarks:
This is a product with 2 attributes: Color and Size.
Each attribute option is a button. (In addition, there is also a version where you can choose via an input select, see the difference in the image below).
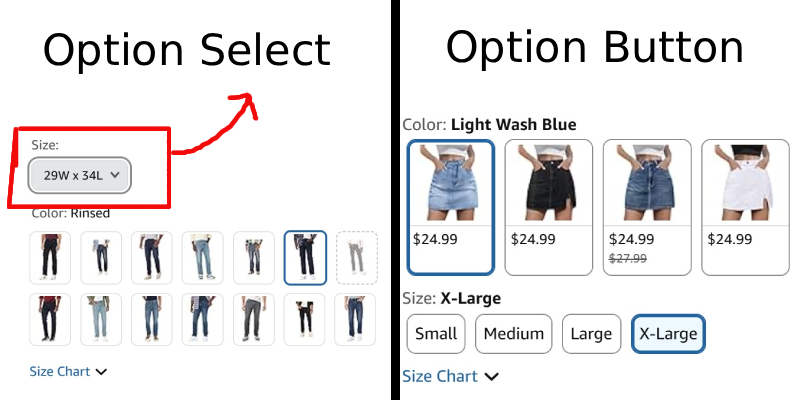
With the group of buttons for the Color attribute, we can collect the image and price of the variant.
With the group of buttons for the Size attribute, we can collect its value.
Now, all Amazon products that have this kind of interface, 90% can be collected with the template I provide you below!
Step 2: How to use this template?
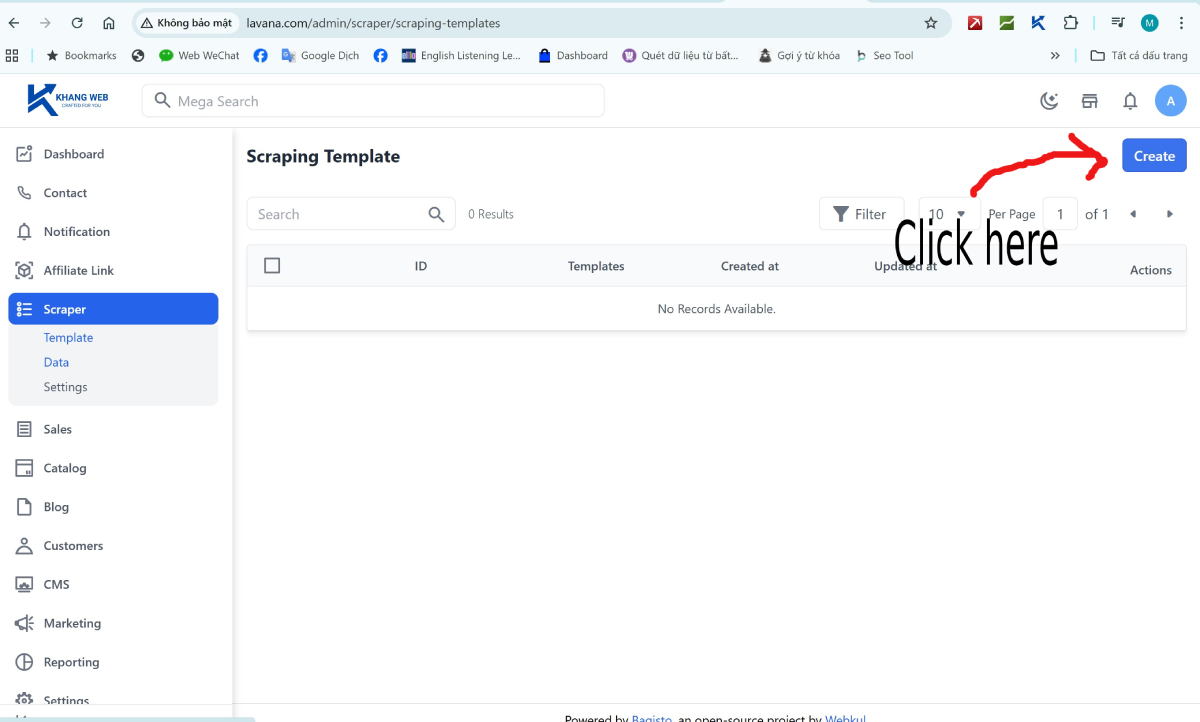
Now, go to the Scraper menu on your website's admin page (example: https://your_website/admin/scraper)
Select Template and press the Create button to go to the template creation form for Khang Scraper.
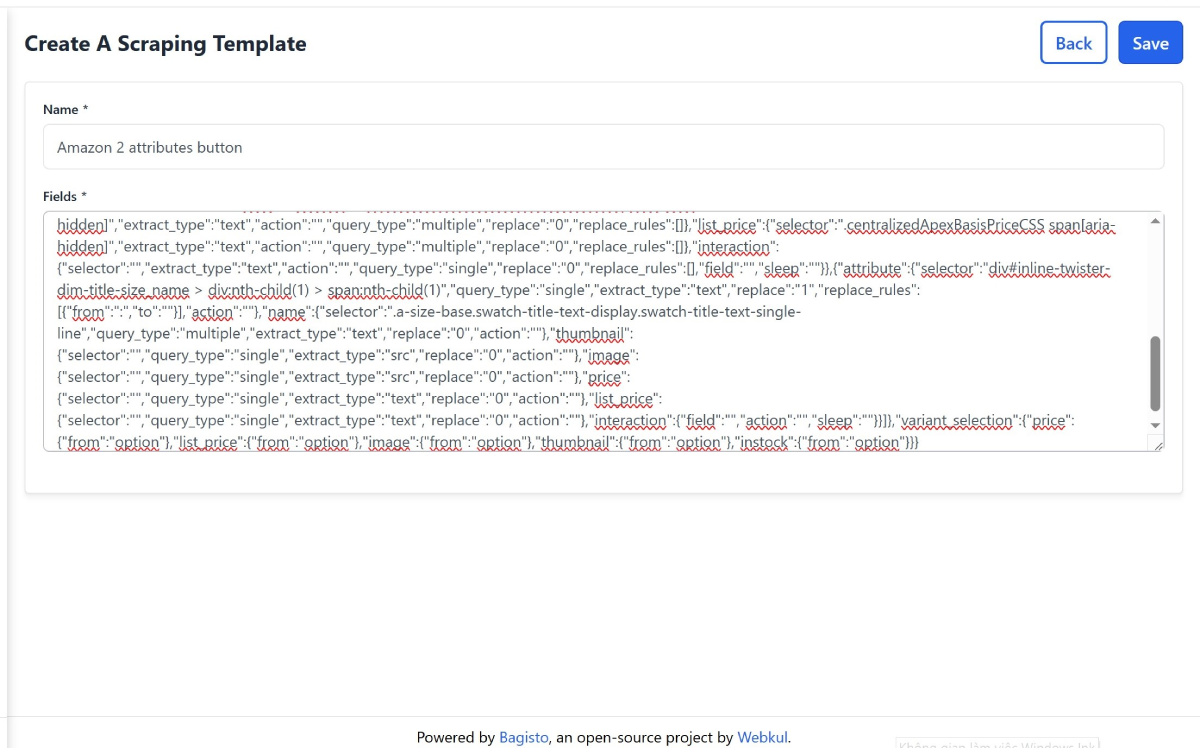
Enter a name for the template, for example: Amazon 2 attributes button
In the Fields field, paste the sample template above and save it.
Step 3: Collect product data
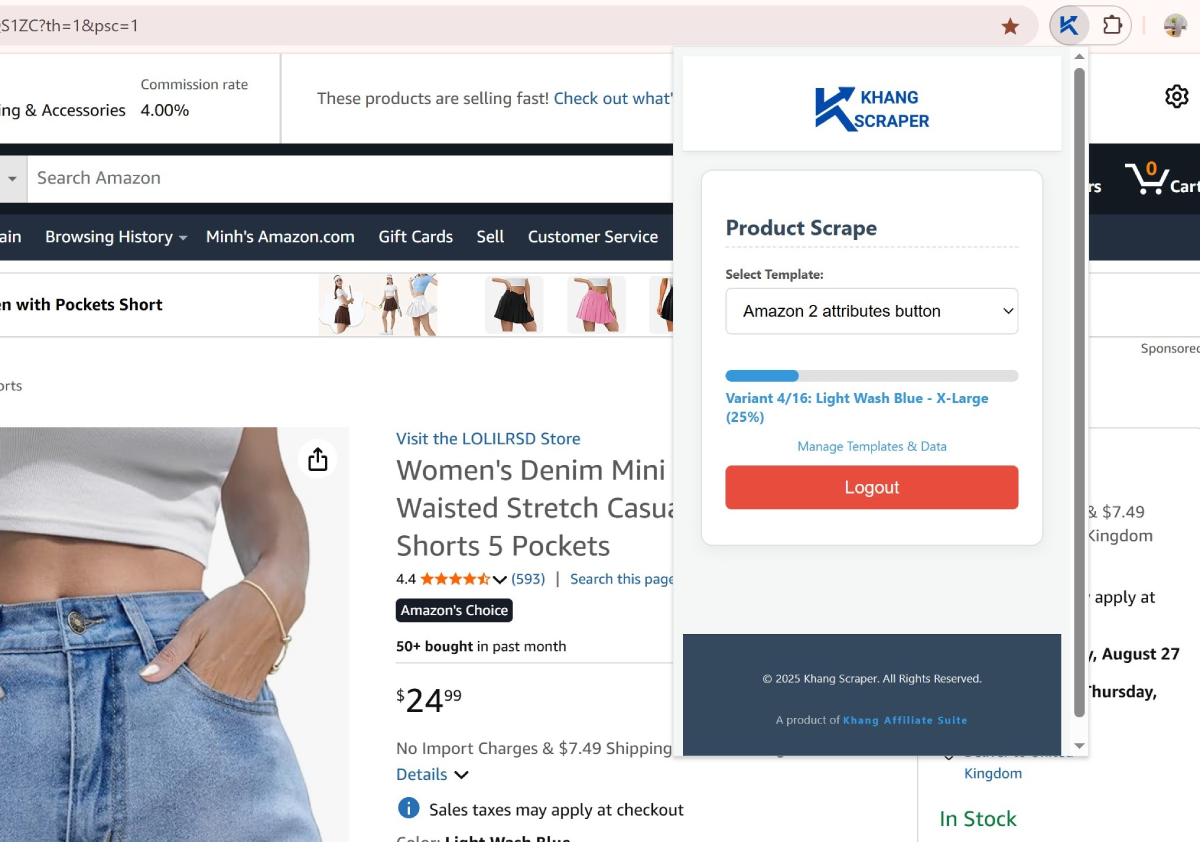
After that, go back to the Amazon product page amazon.com/dp/B0CRDQS1ZC. Open Khang Scraper, wait a few seconds for the Template to load and select the template “Amazon 2 attributes button” as shown in the image below.

Next, click “Scrape Current Product” to proceed with data collection.
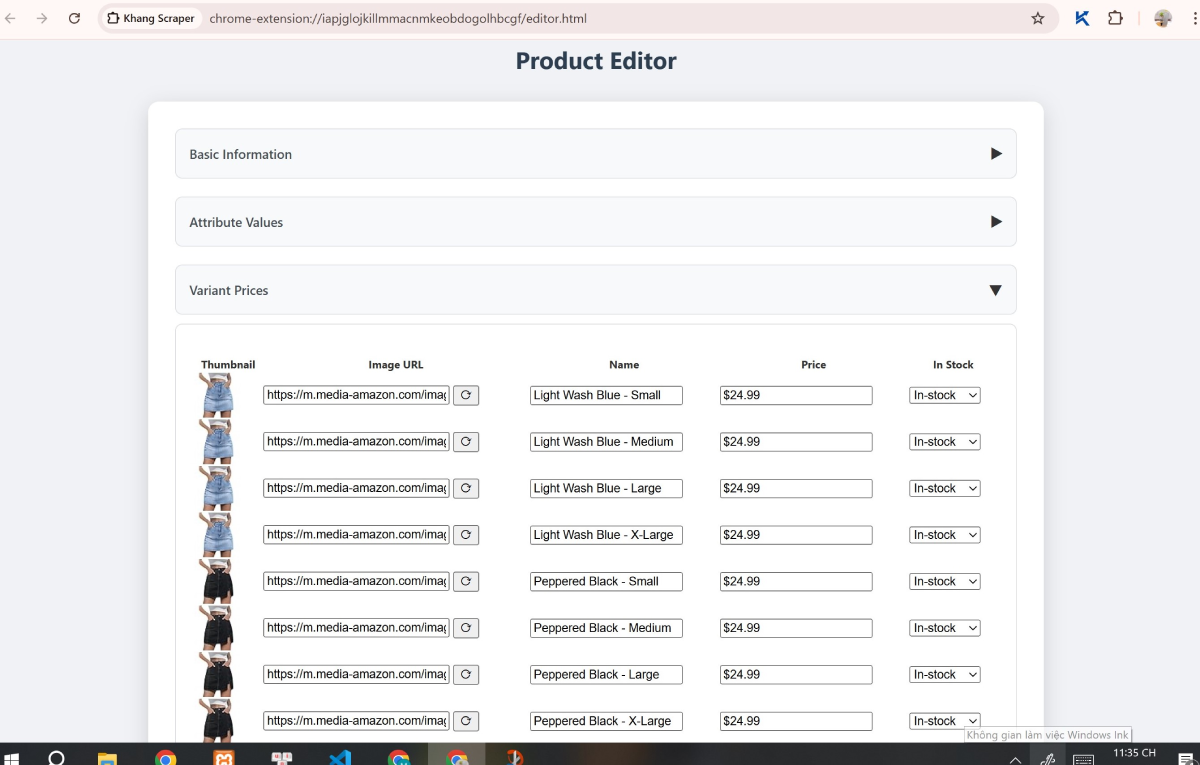
After the collection is complete, the browser will automatically redirect to the Product Editor page. On this page, you can edit the values of the data fields if you want and press Save.
This product's data has now been sent to your website.
Step 4: Import product
Now access Admin/Scraper on your website again and select Data.
You will see the product data we just saved, but it is in raw data format. We need to import it into the system for processing.
Click to select the product -> click the Select Action box and choose Import.

Step 5: Display the product to customers
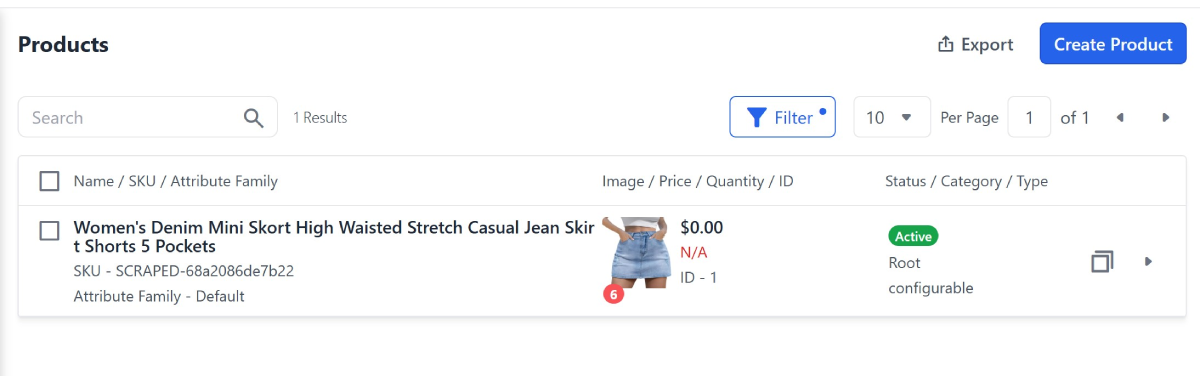
After successful import, go to the Catalog menu and select Products (example: https://your_website/admin/catalog/products).
You will see a series of product variants that you just imported appear.
To make it easier to see, click Filters, select Type / Configurable, and choose Apply Filters.

Now, only the main product will appear, click the ▸ icon to go to the product edit page.
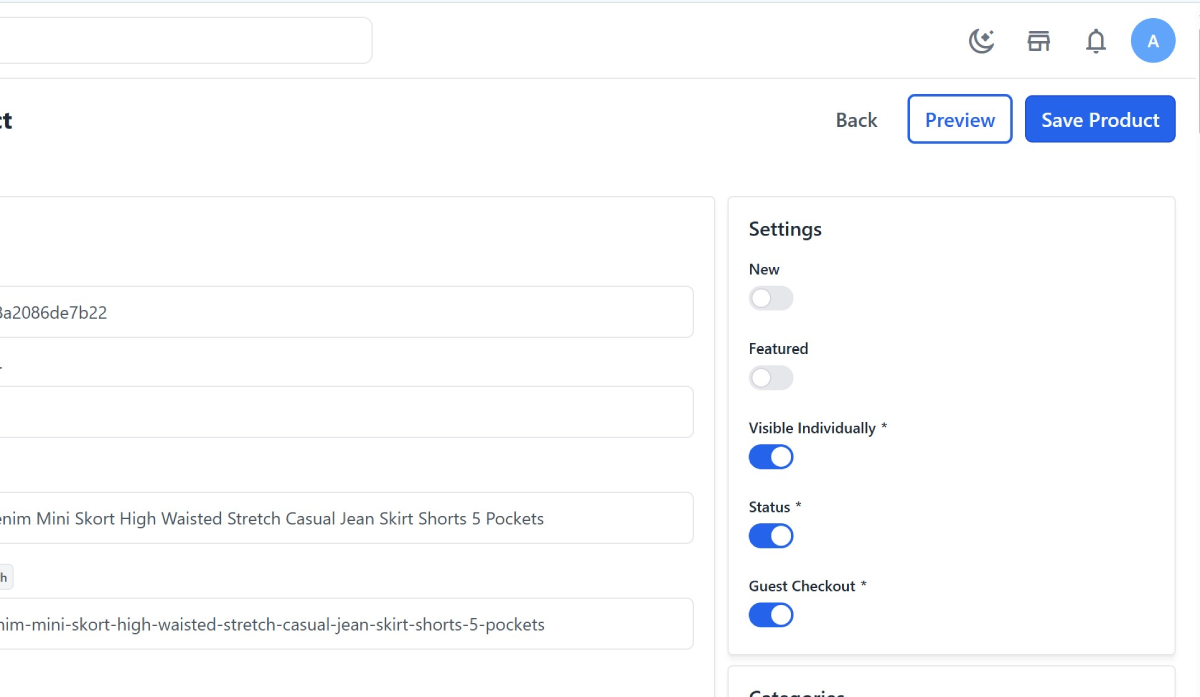
On the Edit page, you will see all the content that has been collected and processed.
Here, we will ask the AI to rewrite the product content and the content of the meta tags for Onpage SEO . But in this guide, I will only stop at the introduction.
Next, click Preview to view the product in the customer interface.
Leave a Comment