
Website administration page configuration (2)
In this section, you will set up an admin account for the website and get familiar with the web administration interface.

Website administration page configuration (2)
After accessing your domain but not seeing the installation page, add /install after the domain (e.g., https://your_domain.com/install).
This interface will have 2 columns: the left column is the process name, and the right column is the form for entering information.
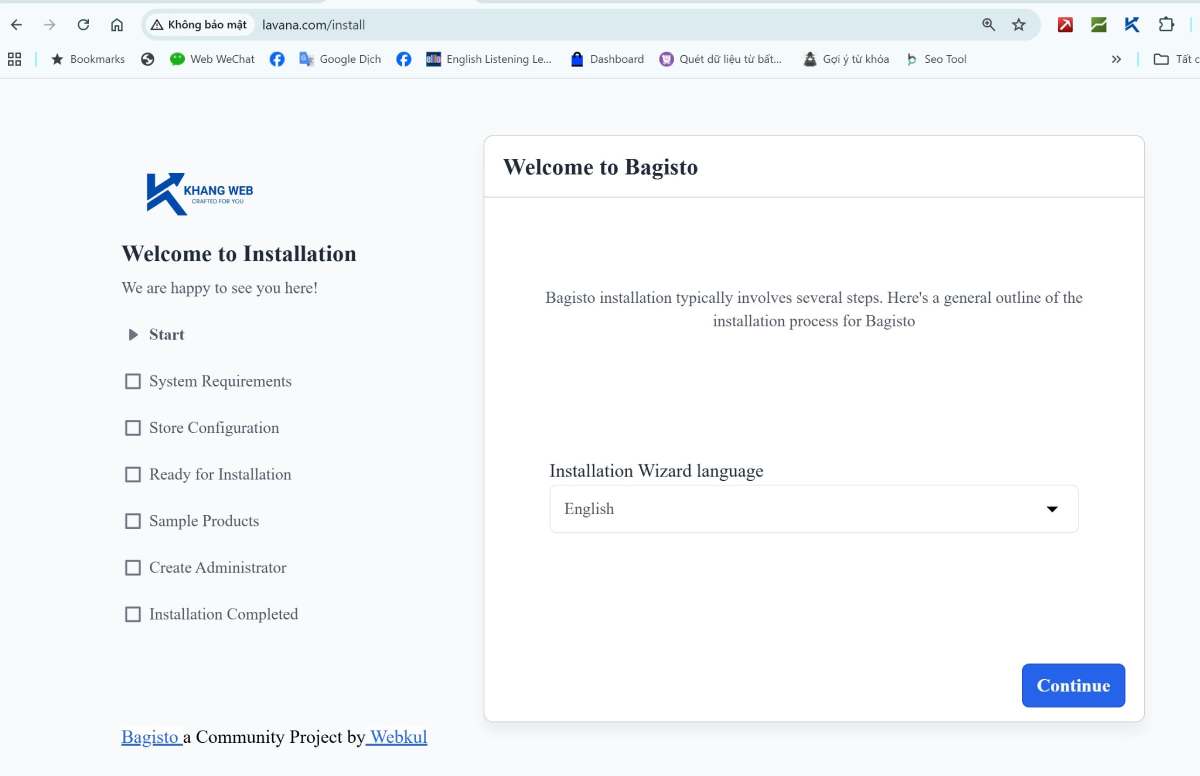
Step 1: Start
Choose the language for the installer (not the language of your website). Here, you can select English, click 'Continue', and then click 'Continue' again.
Step 2: System Requirements
Fill in the database information previously configured in the .env section (they must match), then click Continue to proceed to the next step.
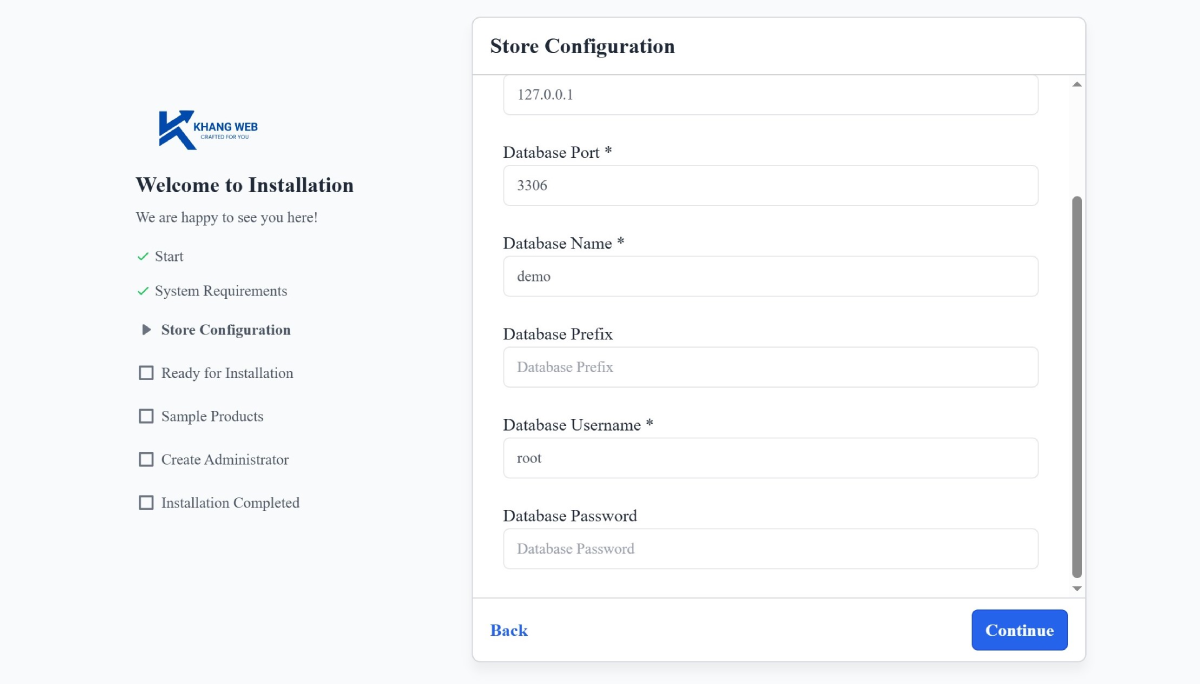
Step 3: Store Configuration
Click Start Installation for the program to run automatically. After a few minutes, a form will appear as shown in the image below.

Select your "Default Timezone". For other fields, you can set them later in the .env file, or if you see a suitable value, you can choose it now. After that, click Continue.
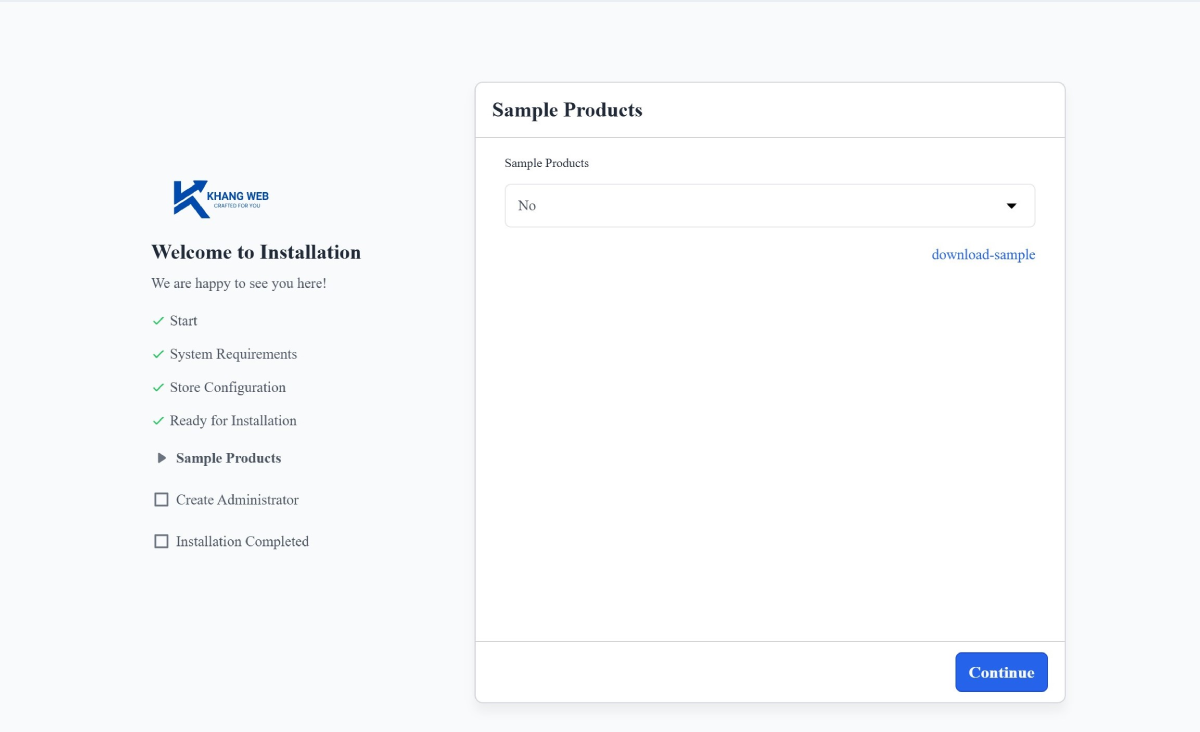
Step 4: Sample Products
Create sample products if you want (Yes) or not (No) because the creation process takes a lot of time. After that, click Continue.
Step 5: Create Administrator
Create an admin account (very important). You need to correctly fill in the email and password fields.

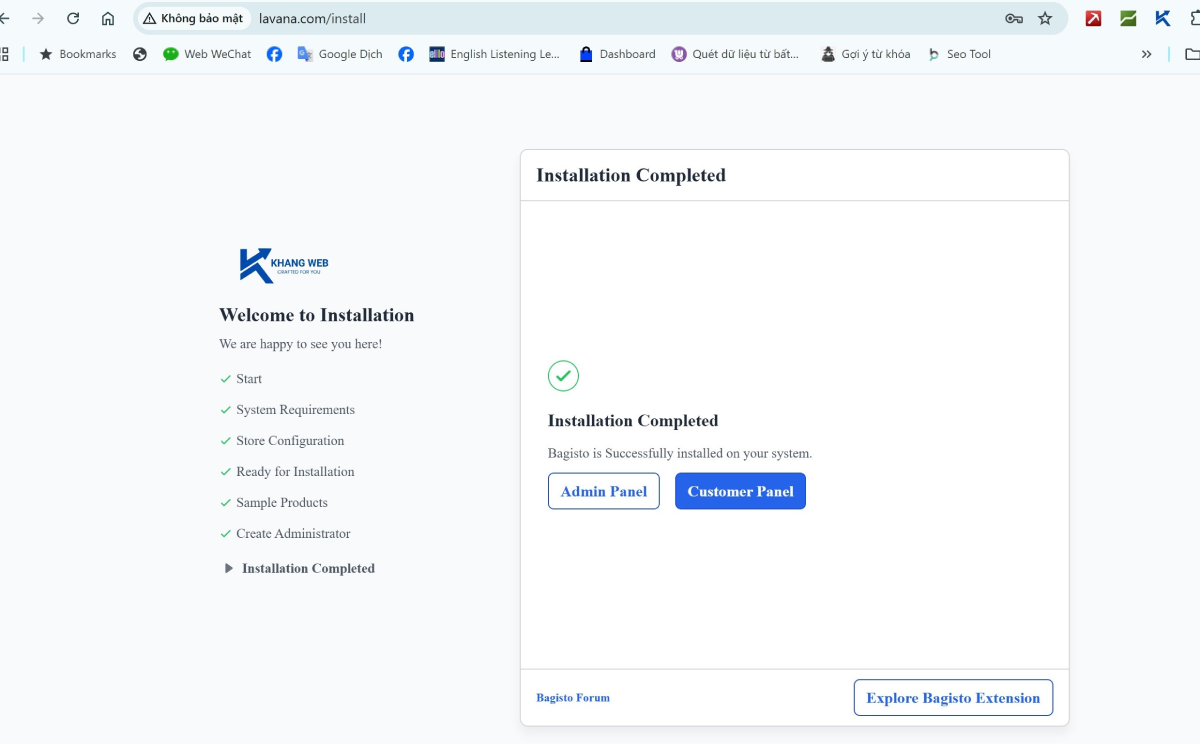
Step 6: Installation Completed
At this step, the installation is considered successful, and this installation interface will no longer appear. Select Admin Panel to continue exploring the website's admin page!
Step 7: Check again
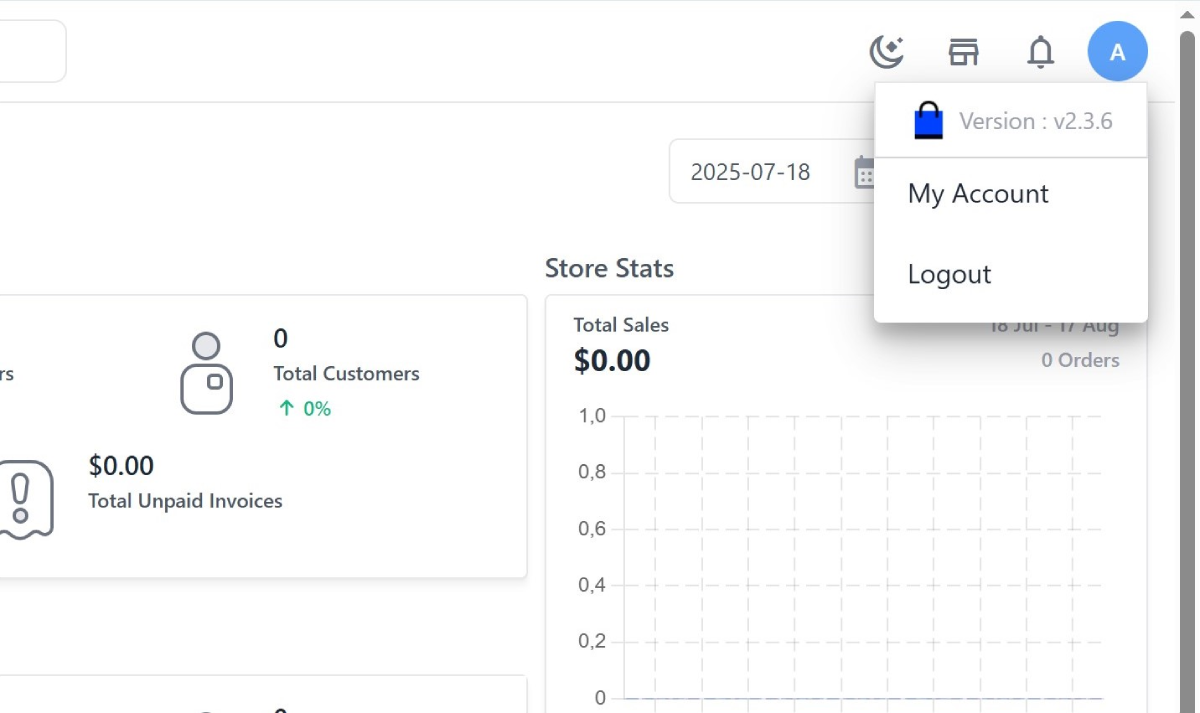
From the admin page, in the top right corner of the screen, click the A icon and select logout.
Then, close the current browser tab and open a new one, enter: https://your_domain.com/admin/login.
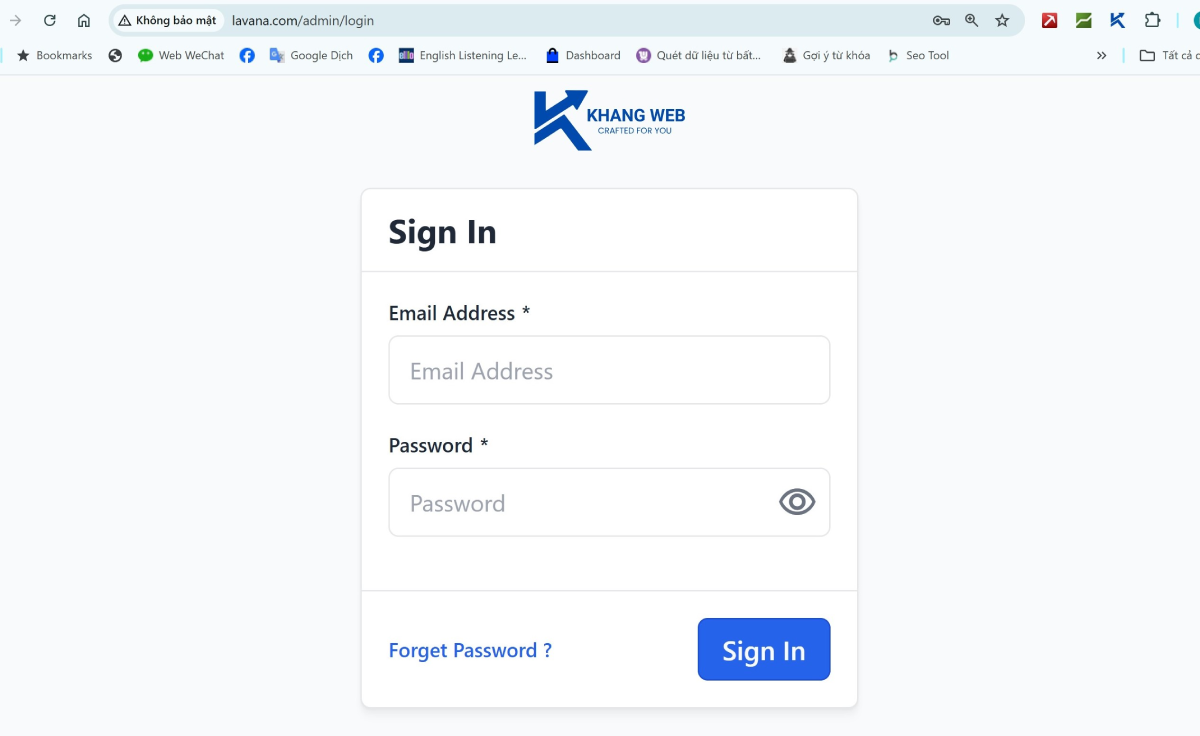
Next, enter your login information into the form. If you can access the admin page, congratulations, you have completed part 2 of the installation process. Keep going, we're almost done!
Leave a Comment