
Practice changing the interface with the help of AI (7)
In this section, we will use AI to help create a simple layout for the homepage interface. If you master these basic steps, you can completely create special content blocks such as: Flash Sale, Game... through AI.

Practice changing the interface with the help of AI (7)
Practicing interface changes with AI support
You need to review and prepare:
- How to set up language and currency.
- How to use Khang Scraper to collect product data.
- An activated AI account (ChatGPT, Gemini…).
I will choose Amazon as the site to collect data because it has many languages to choose from. Therefore, you need to change the Amazon language to match your website's settings. If you can't find the desired language, temporarily choose English for practice. We will practice with the women's fashion category.
Advice: Be patient and follow through until completion, even if this is not the product category you want.
Preparation
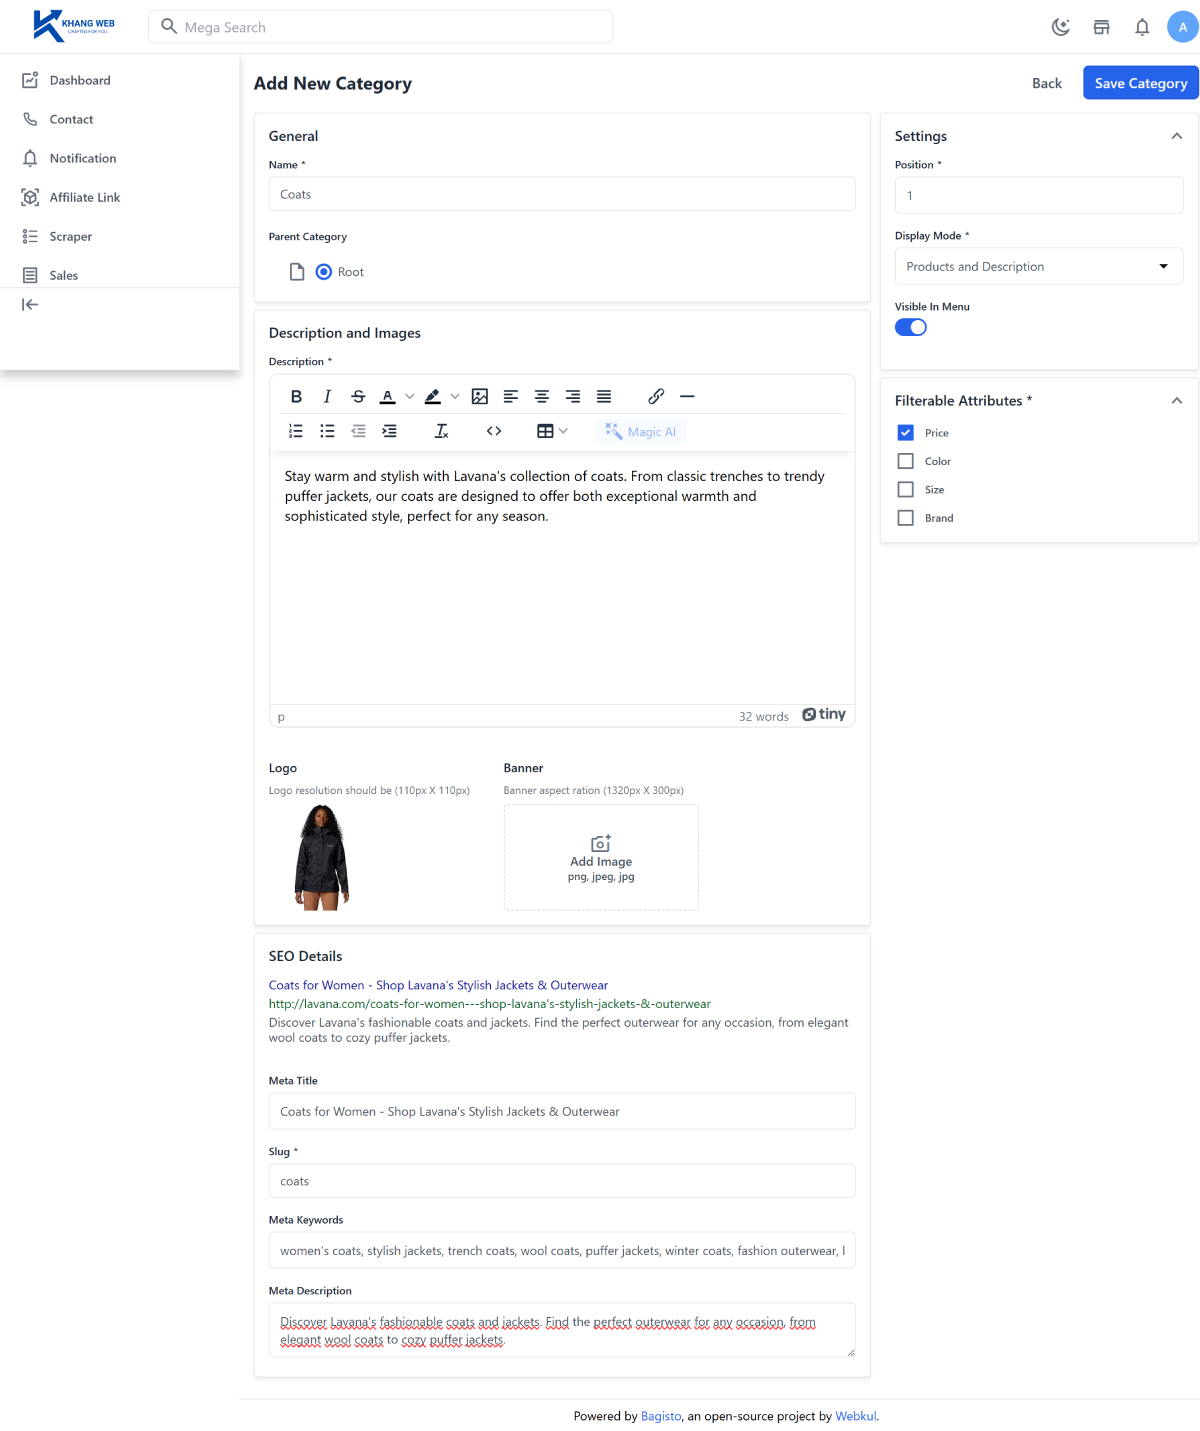
1. Create 3 categories such as: Coats, Sweaters, Pants
How to do it:
- Access: /admin/catalog/categories/create.
- In the Add New Category page, fill in all required information (marked with *).
- Note: check Parent Category - Root (the created category will be a parent category).
2. Scrape products and import them into the correct category
- Choose a template to scrape products on Amazon to get raw data.
- Review the article: Basic Khang Scraper user guide.
- And stop at step 3 of this article: I will continue to guide you on how to import products into the category you want.
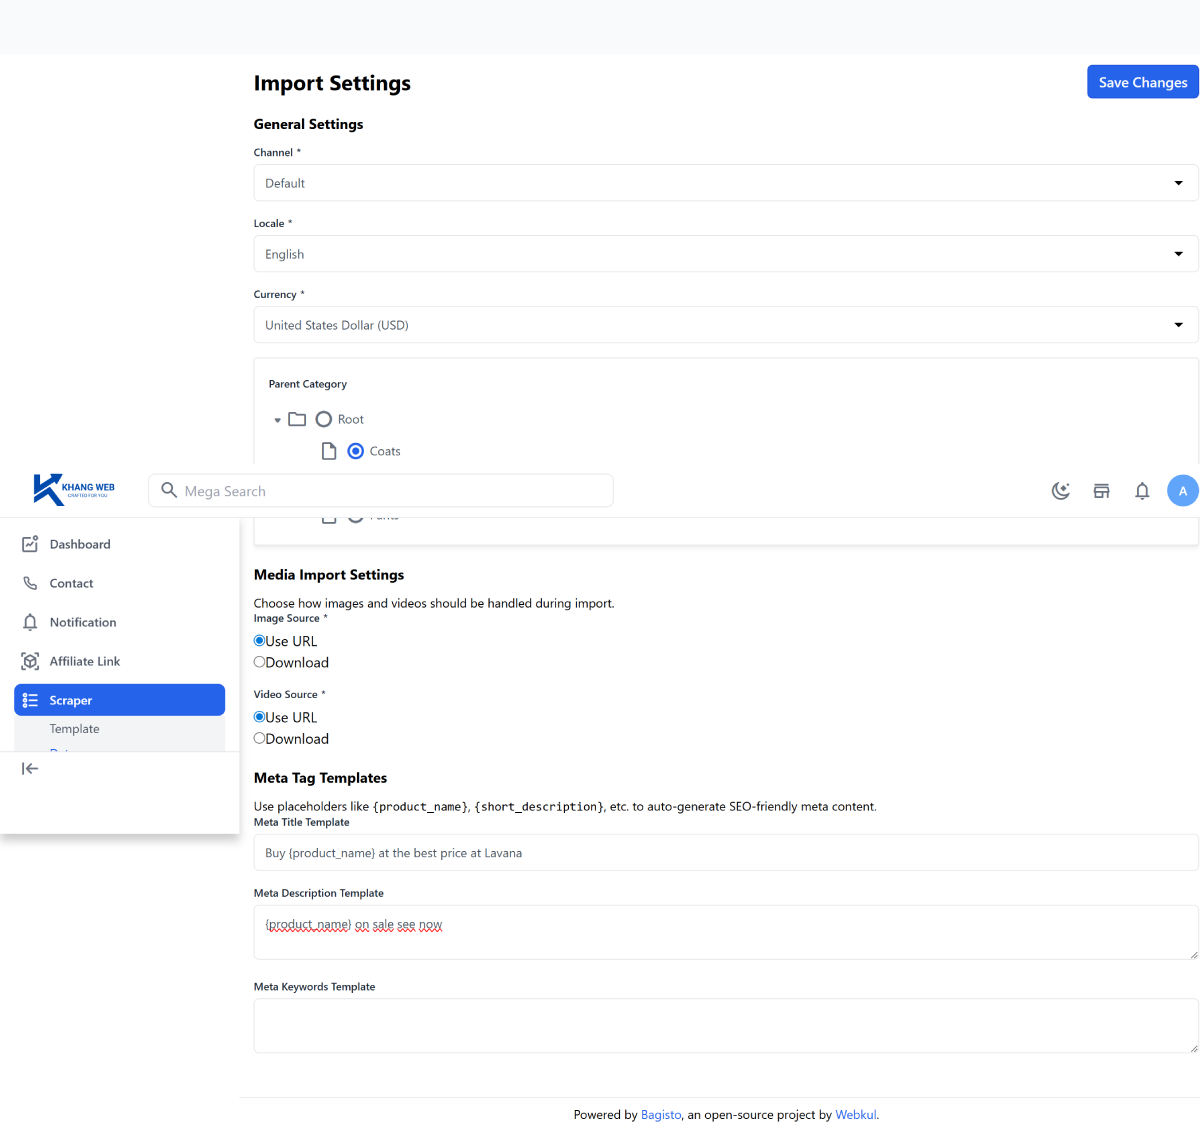
- Access /admin/scraper/import-setting for the purpose of:
- Selecting the product category to import;
- Setting up meta tags according to a common structure for each product.
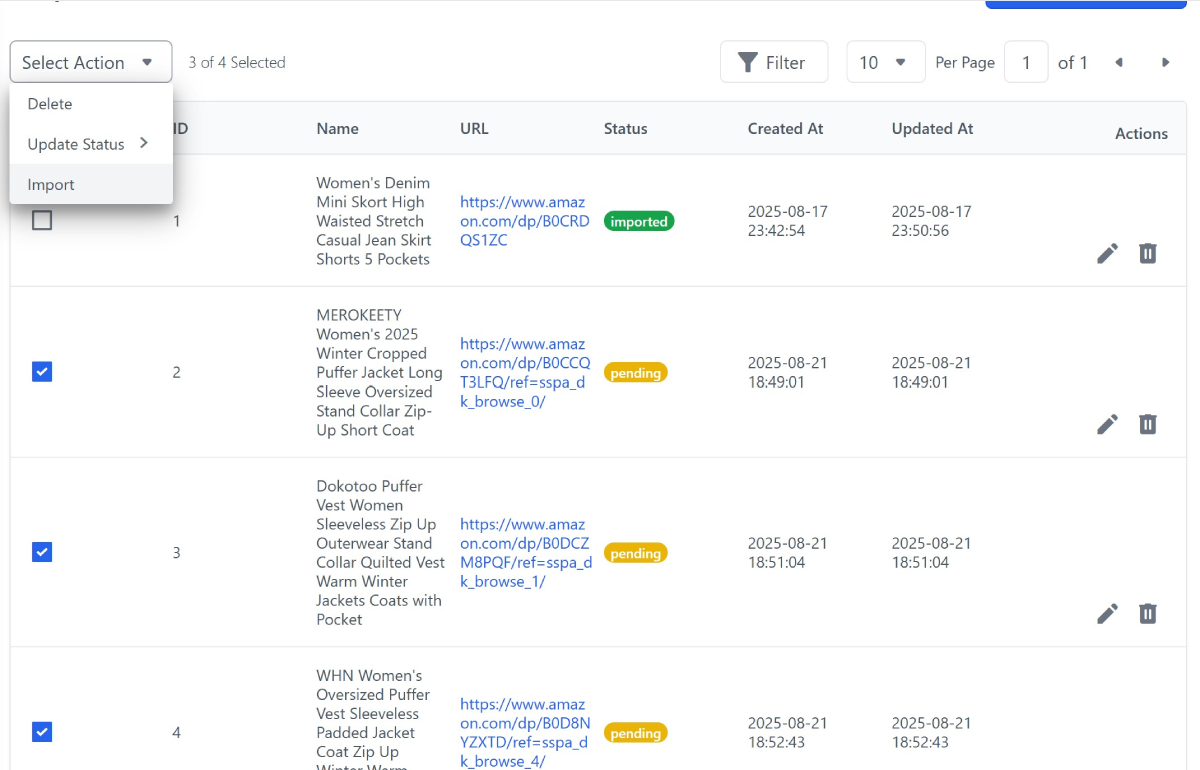
- Access the raw data page: admin/scraper.
- Select products from the same category and import.
3. Banner images
- Prepare 3 banner images in advance, size 1920px x 700px (.jpeg, .webp) suitable for the product category.
4. Create logo and favicon
- Access /admin/settings/channels/edit/1 to upload the logo (192px x 50px) and favicon (16px x 16px).
Working with Theme Settings
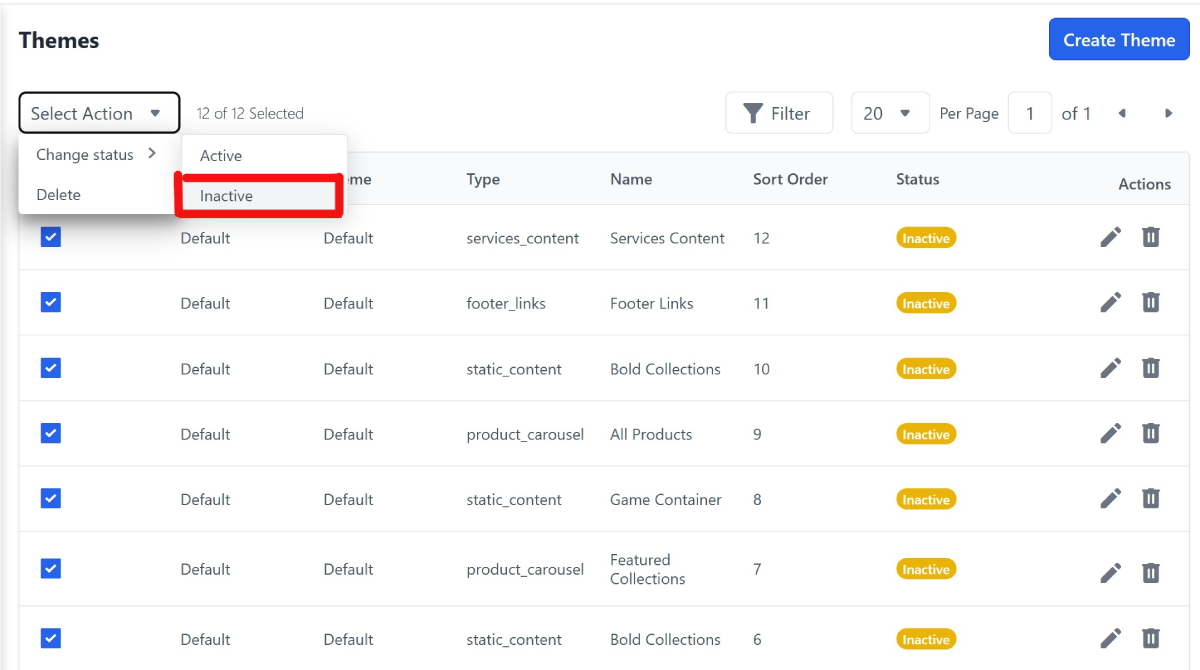
Step 1: We will create a new theme, so let's temporarily hide all current content blocks
- Click check all, then select “Select Action > Change status > Inactive”.
- Now you select Filter/ Status/Active -> Apply Filters : to show only active blocks.
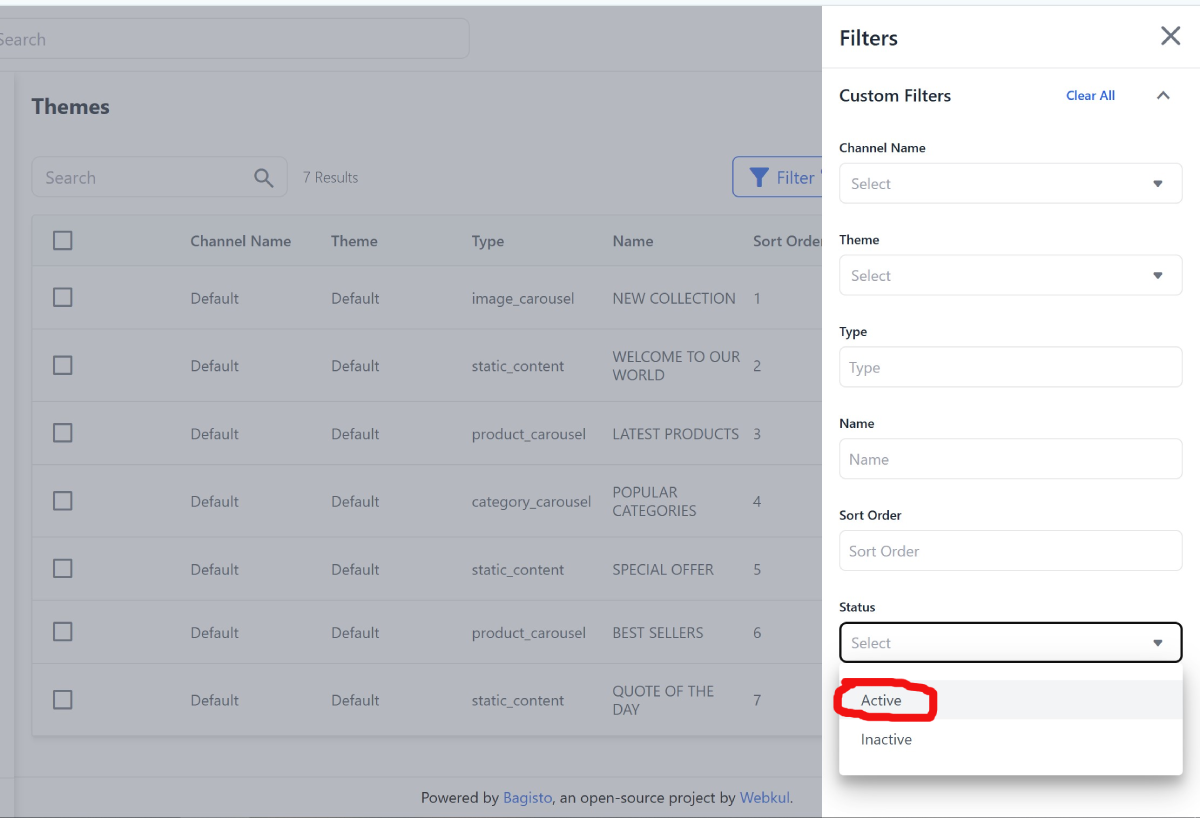
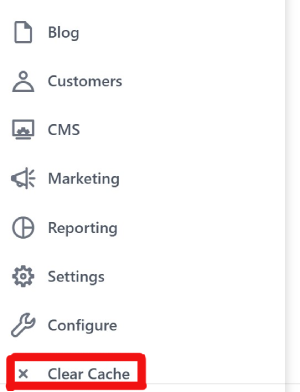
- Then, click Admin/ Clear Cache to clear old data.
Step 2: Create a homepage layout:
If you want AI to help you design, fill in this prompt:
With such a prompt, here is the result from Gemini AI (2.5 flash):
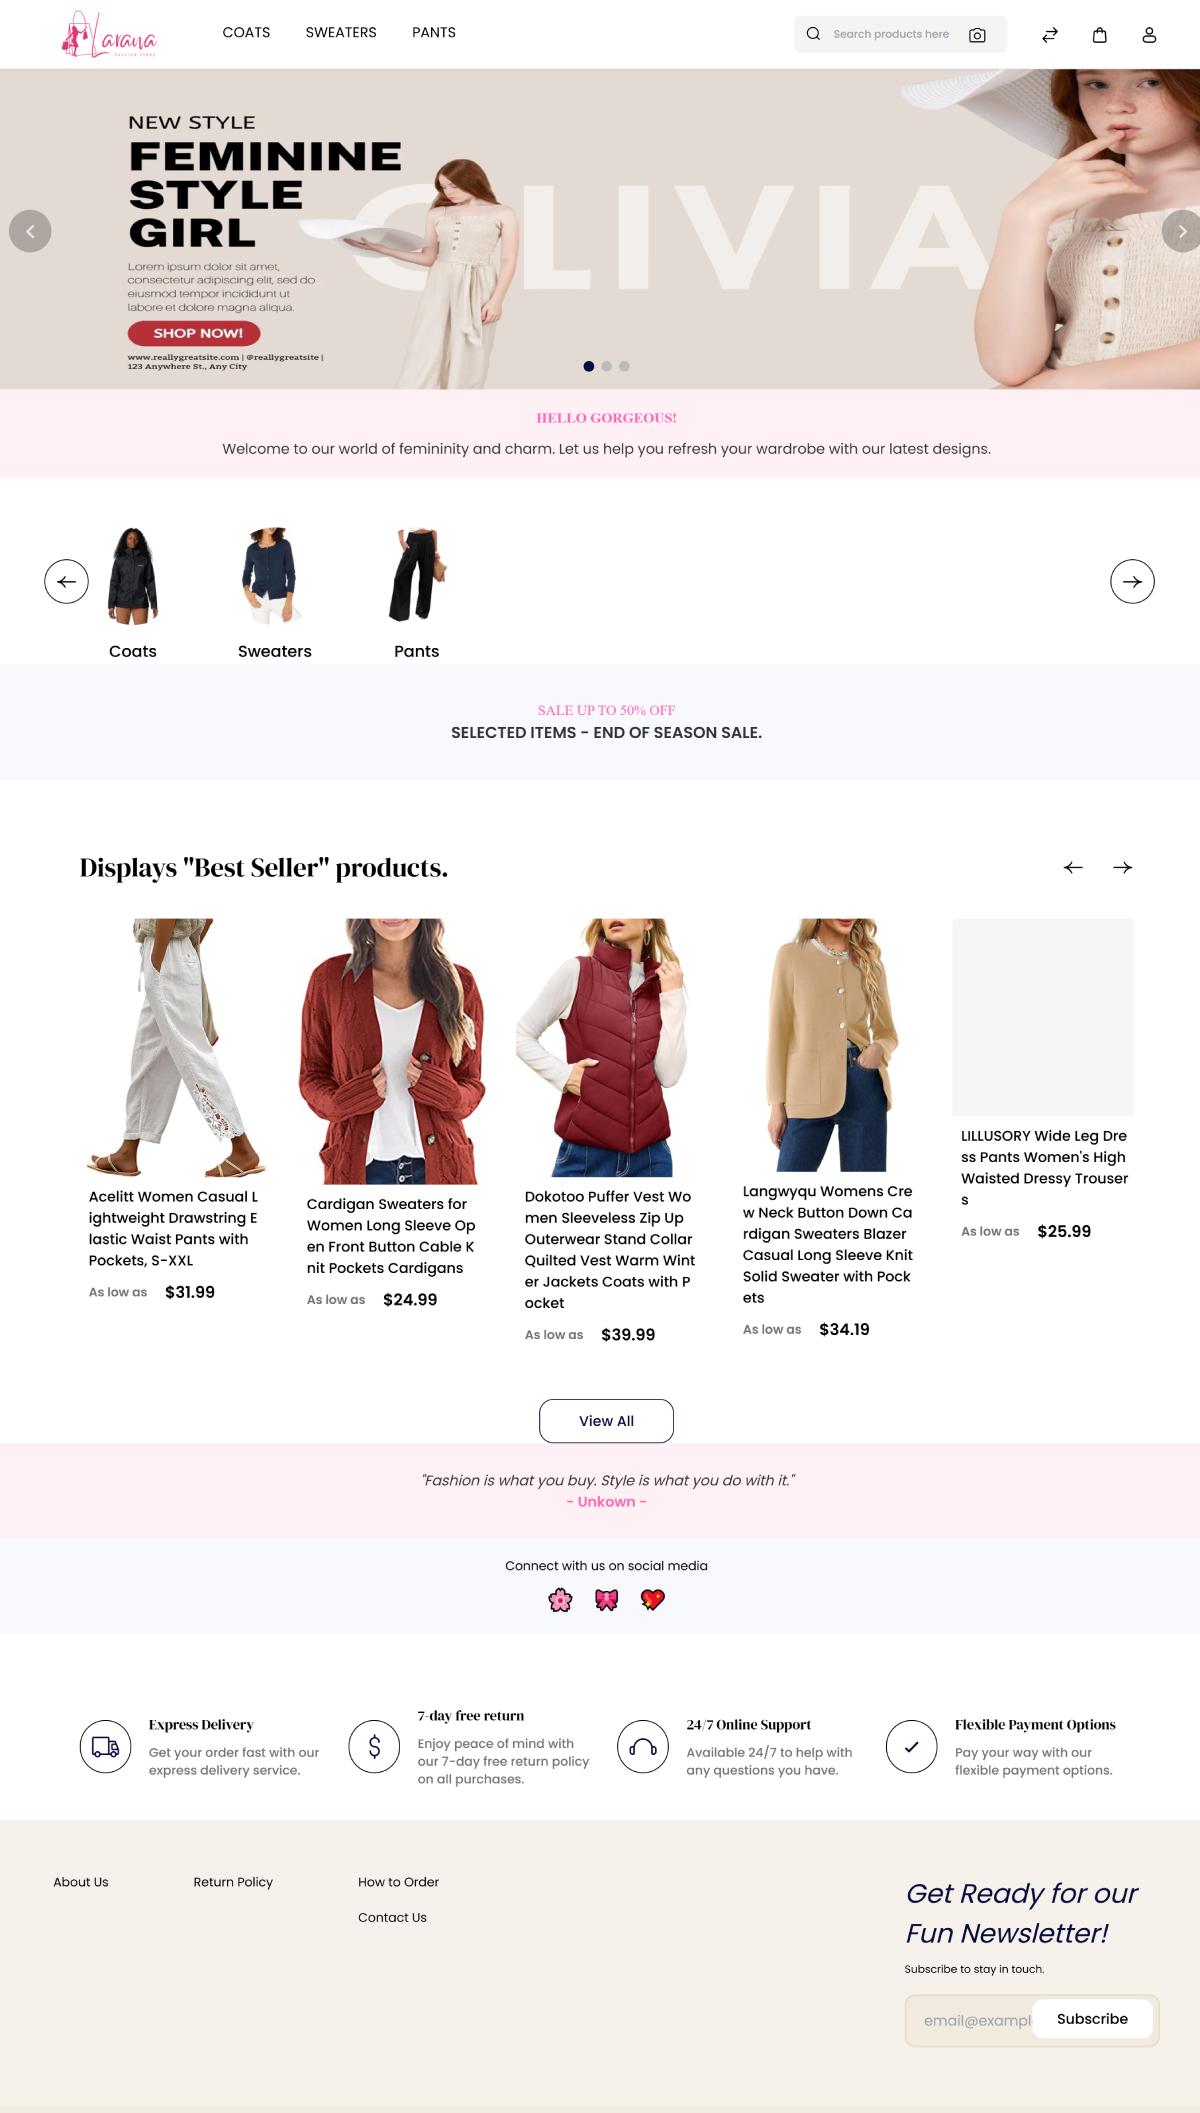
Here is the English homepage layout for the "Women's Fashion" category on Bagisto Themes, maintaining the white-pink color scheme and the stated constraints.
| Sort Order | Name (Block Name) | Type (select one from the list) | Display Content (do not use code unless Type = static_content) | Effect (ONLY for static_content) | Status |
|---|---|---|---|---|---|
| 1 | NEW COLLECTION | image_carousel | Slide 1: Title "New Collection - Effortless Elegance", image of a model in a pastel pink dress. Slide 2: Title "20% Off on New Arrivals", image of accessories like handbags and heels. Slide 3: Title "Find Your Unique Style", image of a joyful, confident model. Auto-play: Yes |
Active | |
| 2 | WELCOME TO OUR WORLD | static_content |
|
Fade-in effect for the entire block. | Active |
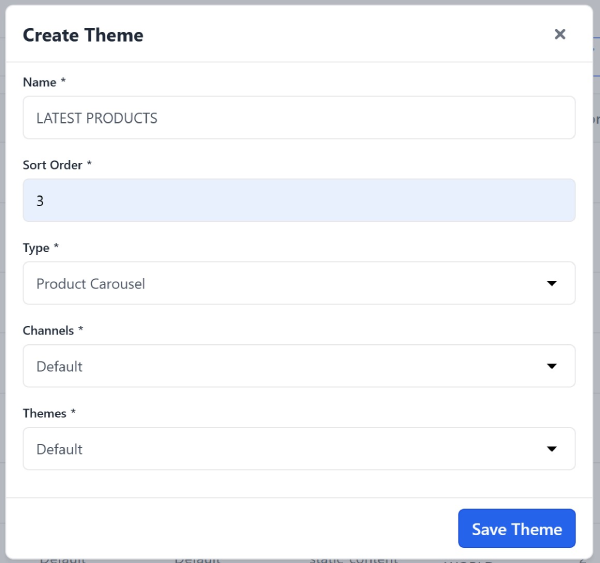
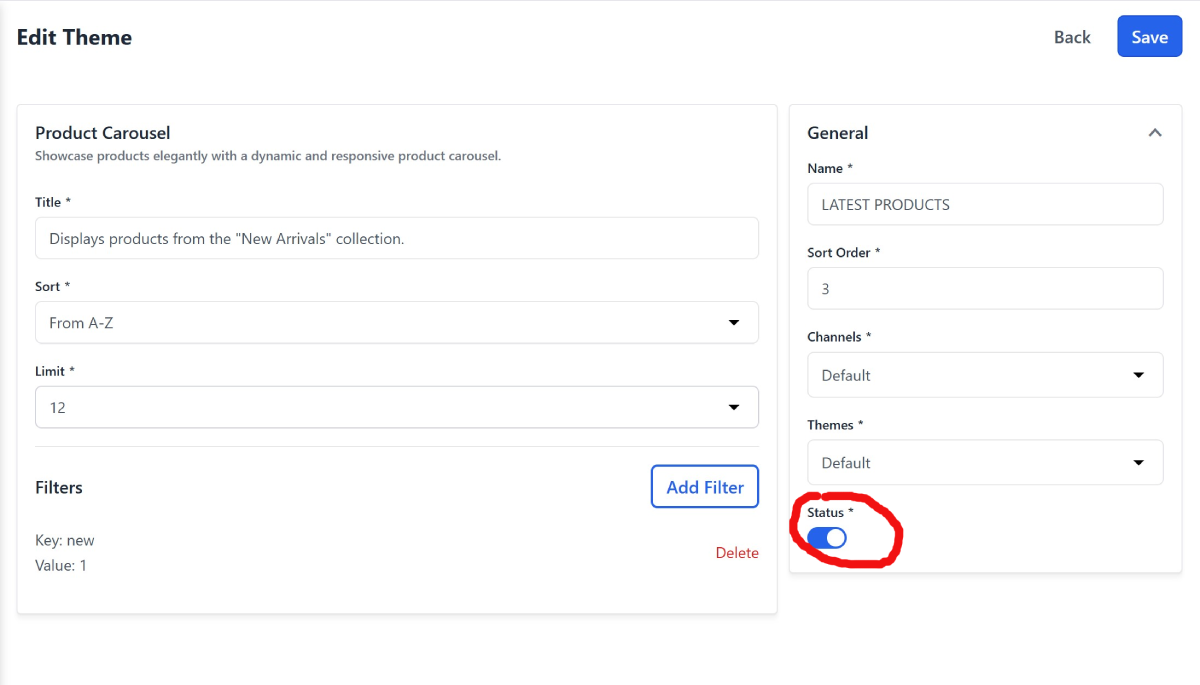
| 3 | LATEST PRODUCTS | product_carousel | Displays products from the "New Arrivals" collection. | Active | |
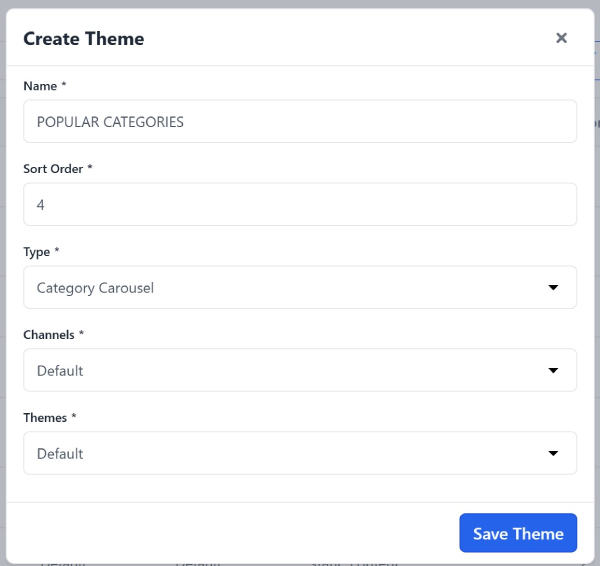
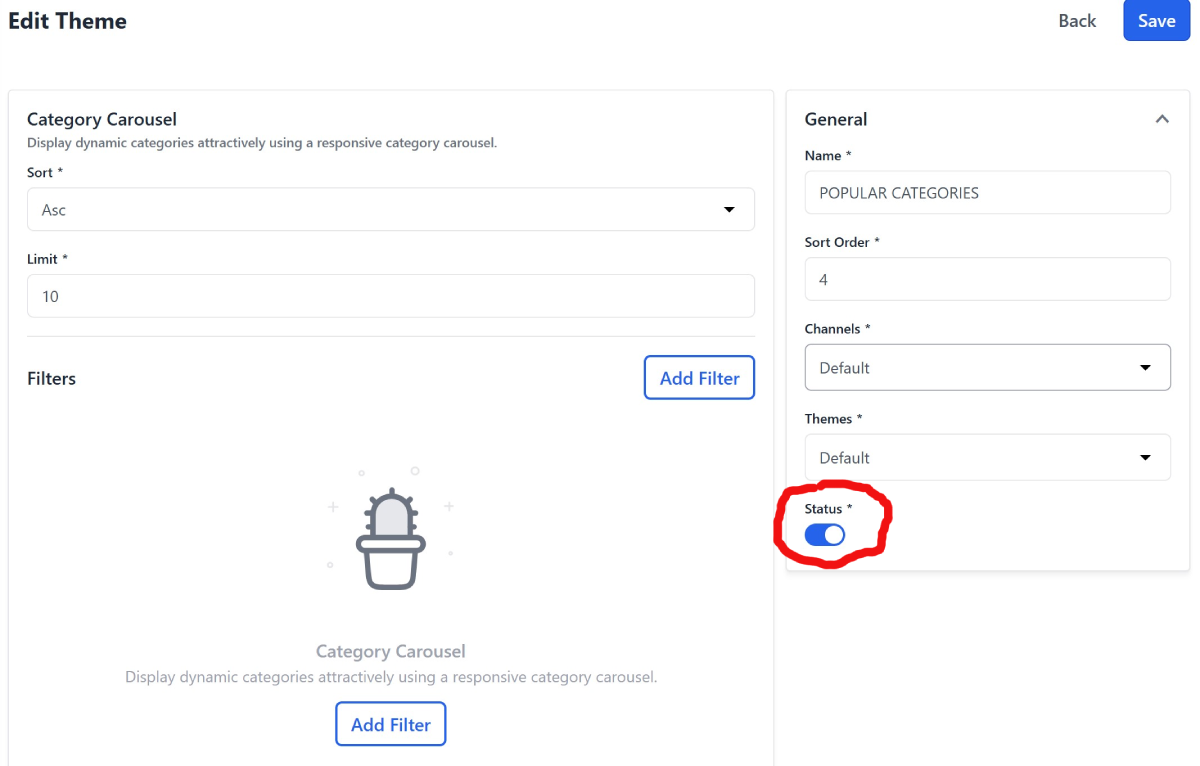
| 4 | POPULAR CATEGORIES | category_carousel | Dresses; Blouses; Skirts; Culottes; Jackets | Active | |
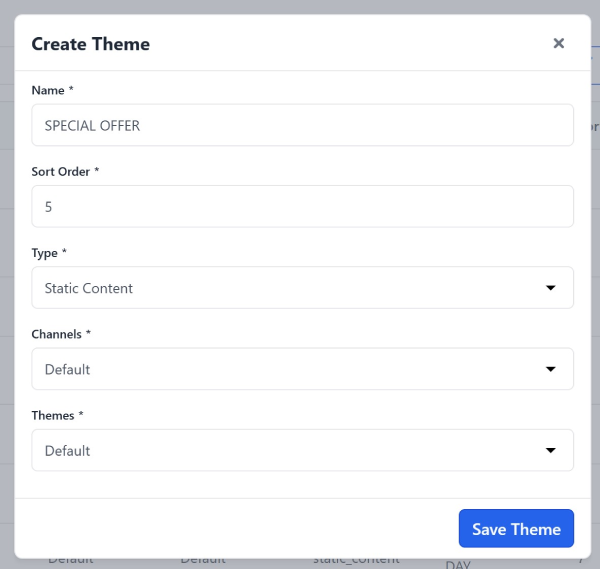
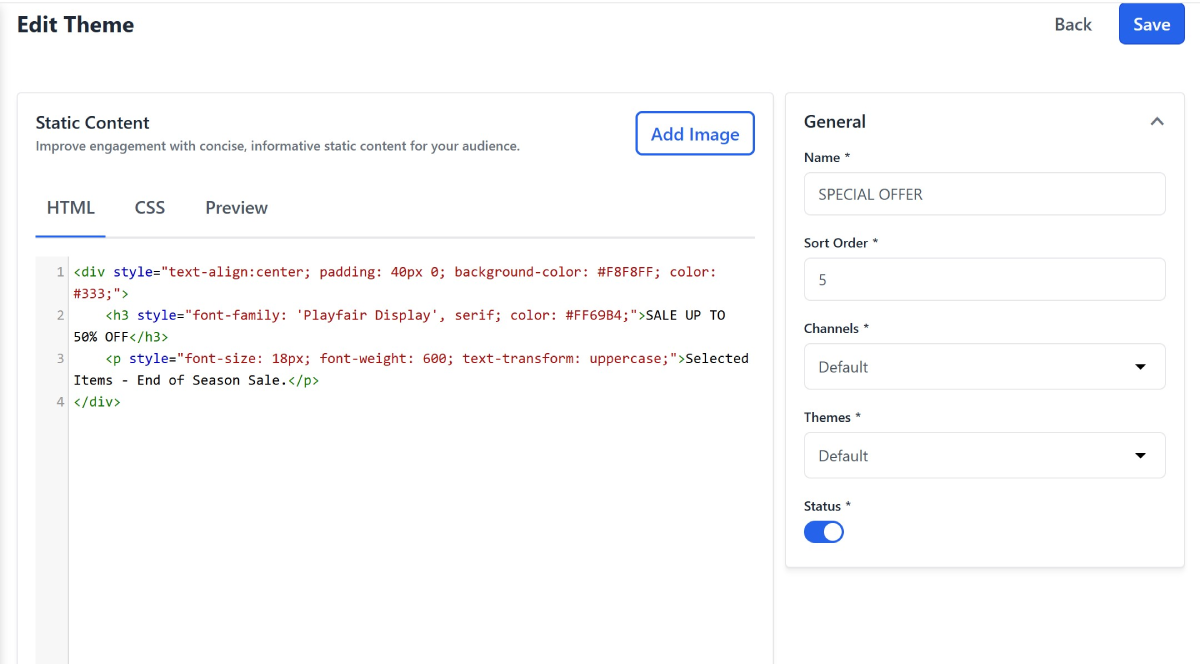
| 5 | SPECIAL OFFER | static_content |
|
Subtle zoom-on-hover effect. | Active |
| 6 | BEST SELLERS | product_carousel | Displays "Best Seller" products. | Active | |
| 7 | QUOTE OF THE DAY | static_content |
|
Active | |
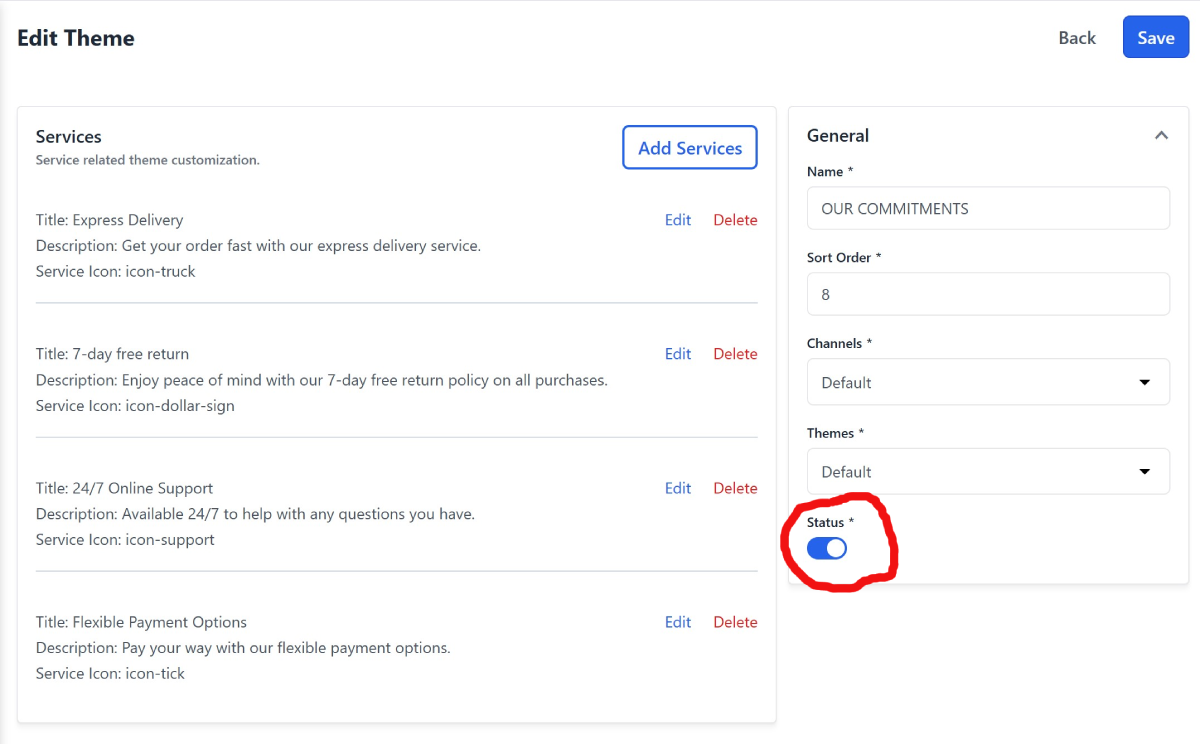
| 8 | OUR COMMITMENTS | services_content | Express Delivery; 7-Day Free Returns; 24/7 Online Support; Flexible Payment Options | Active | |
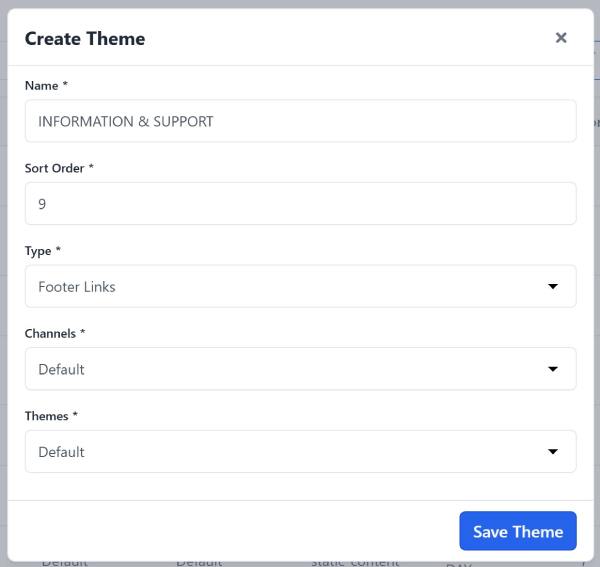
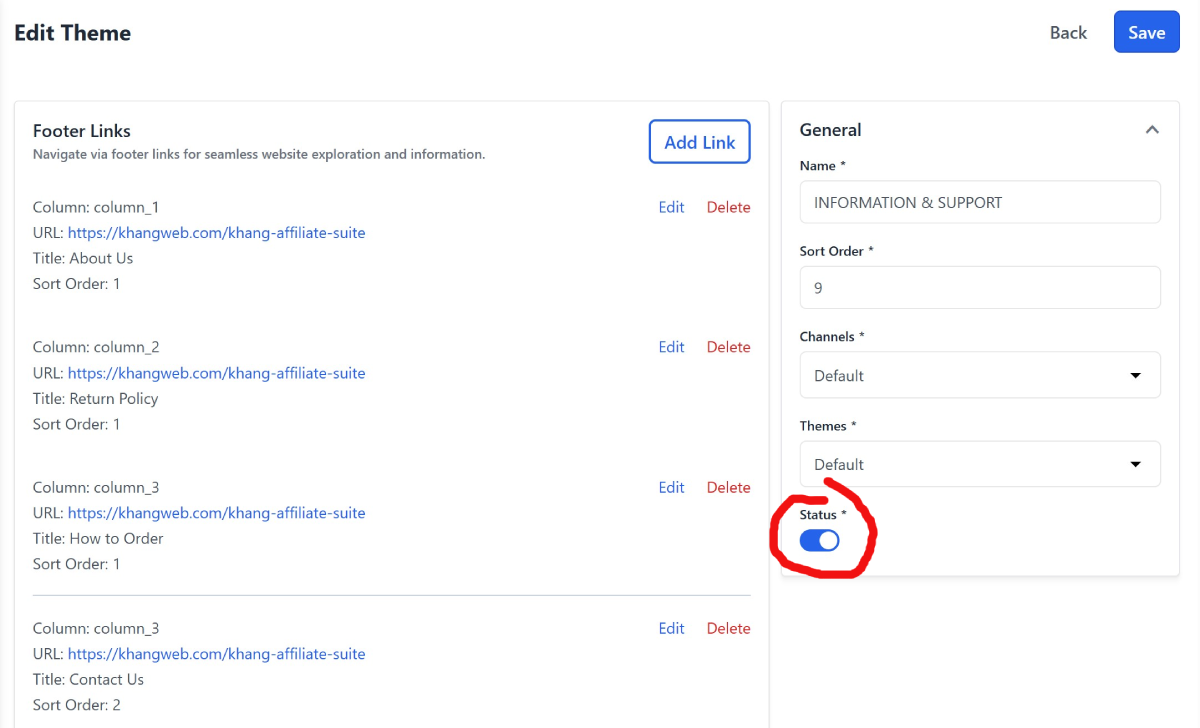
| 9 | INFORMATION & SUPPORT | footer_links | About Us; Return Policy; How to Order; Contact Us | Active | |
| 10 | FOLLOW US | static_content |
|
Subtle color change on hover for social icons. | Active |
| 11 | FOOTER LEGAL | footer_links | Terms of Service; Privacy Policy; Copyrights | Active | |
| 12 | CONTACT INFO | services_content | Address: 123 Fashion St., Ho Chi Minh City; Hotline: 0123.456.789; Email: contact@fashionista.vn | Active |
Step 3: Create new data blocks:
As mentioned in the previous part, in settings/theme we have 6 different types. So I will guide you to enter the corresponding 6 content blocks into these 6 types. You can do the same for the remaining blocks.
Steps to create content blocks
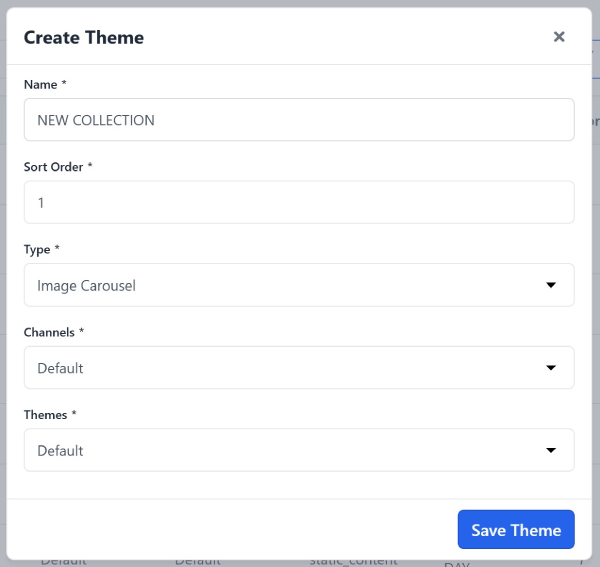
Block 1 - NEW COLLECTION
Type: Image Carousel
Objective: Display a slider for products and promotions.
Click Create Theme, fill in the information, and press Save.
The system will switch to Edit Theme. Enter content for the 3 images in order and select Status as Active.
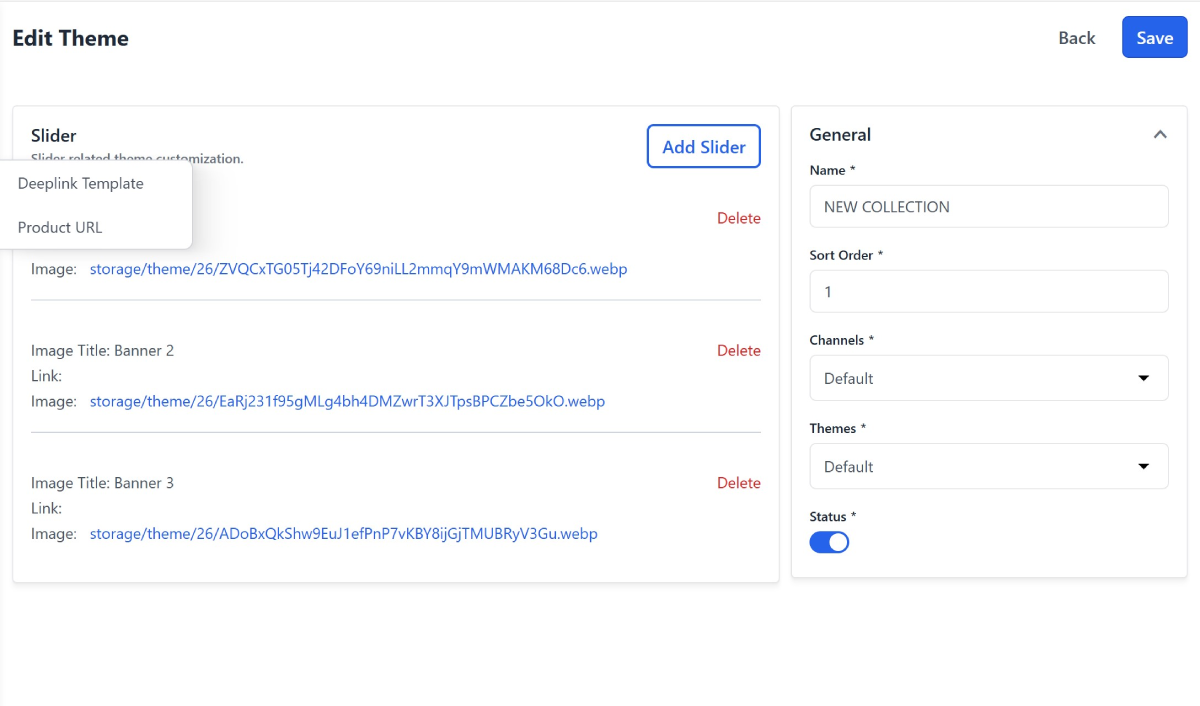

After adding all the content blocks, remember to "Clear Cache" as instructed above. And then see the results.
Note: In case of a layout error - incomplete content blocks are displayed, please change the position of the Type: Footer Links to the last position.
Leave a Comment